Chemistry of Art
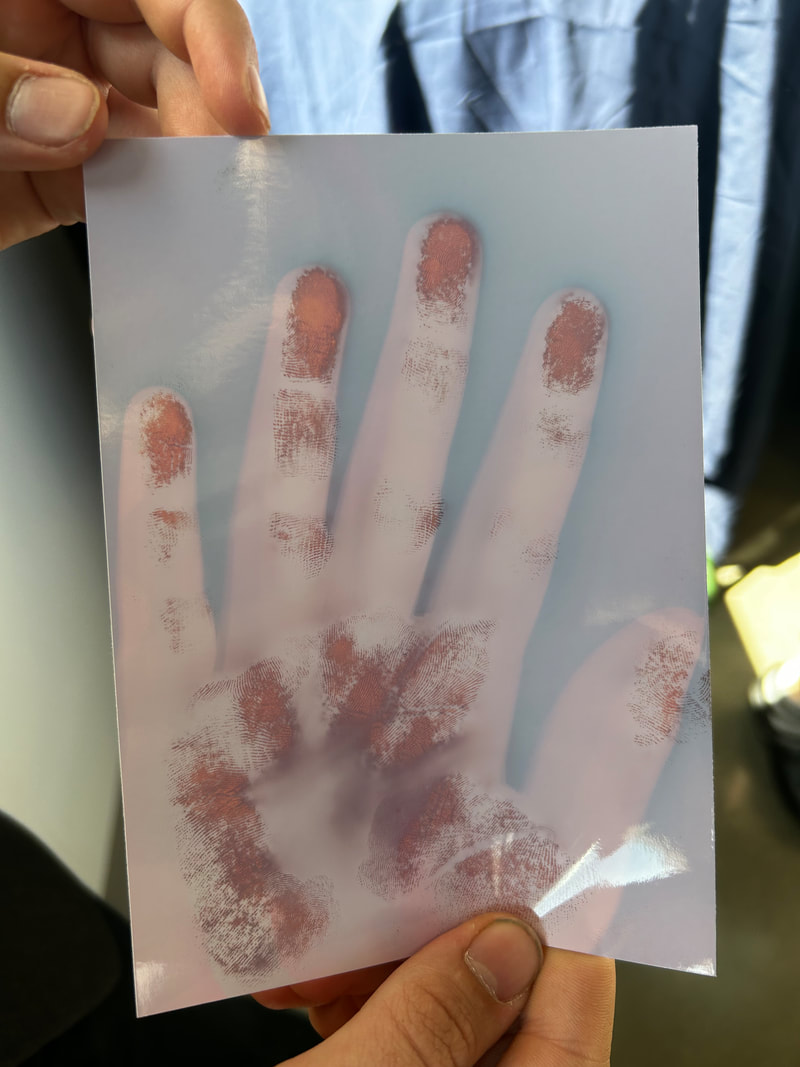
Image of exposed photographic paper capturing my partner's hand
History Of Chemistry
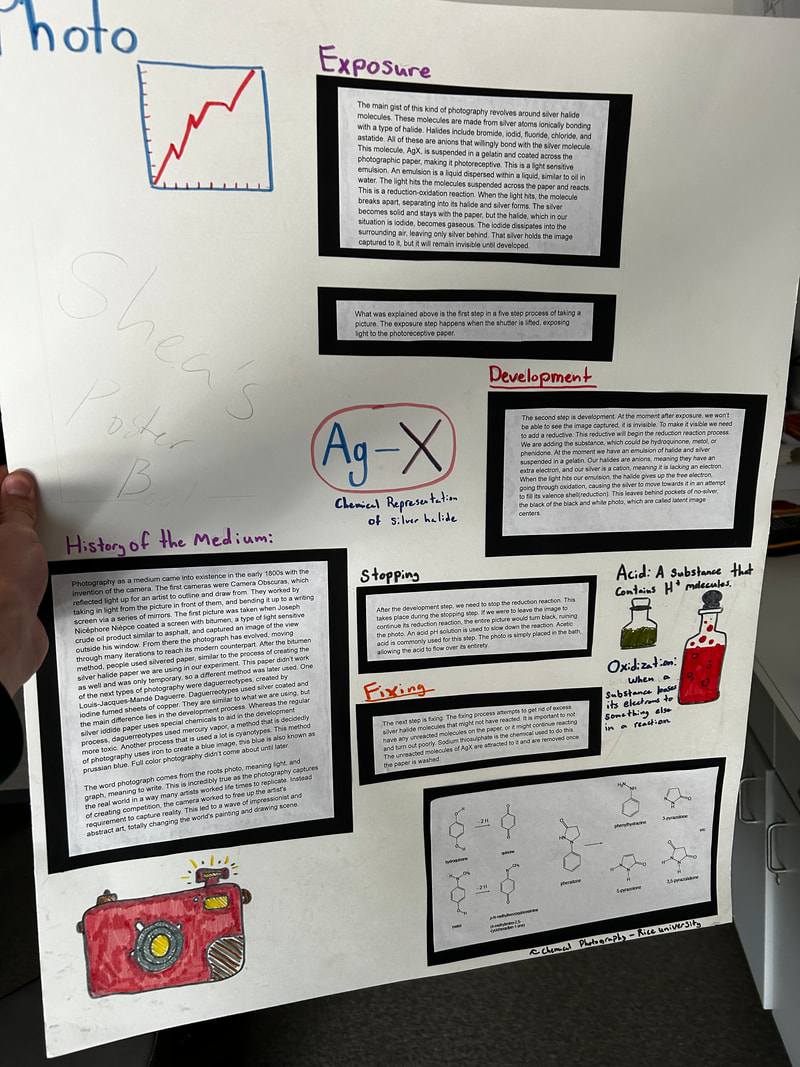
Photography as a medium came into existence in the early 1800s with the invention of the camera. The first cameras were Camera Obscuras, which reflected light up for an artist to outline and draw from. They worked by taking in light from the picture in front of them, and bending it up to a writing screen via a series of mirrors. The first picture was taken when Joseph Nicéphore Niépce coated a screen with bitumen, a type of light sensitive crude oil product similar to asphalt, and captured an image of the view outside his window. From there the photograph has evolved, moving through many iterations to reach its modern counterpart. After the bitumen method, people used silvered paper, similar to the process of creating the silver halide paper we are using in our experiment. This paper didn’t work as well and was only temporary, so a different method was later used. One of the next types of photography were daguerreotypes, created by Louis-Jacques-Mandé Daguerre. Daguerreotypes used silver coated and iodine fumed sheets of copper. They are similar to what we are using, but the main difference lies in the development process. Whereas the regular silver iodide paper uses special chemicals to aid in the development process, daguerreotypes used mercury vapor, a method that is decidedly more toxic. Another process that is used a lot is cyanotypes. This method of photography uses iron to create a blue image, this blue is also known as prussian blue. Full color photography didn’t come about until later.
The word photograph comes from the roots photo, meaning light, and graph, meaning to write. This is incredibly true as the photography captures the real world in a way many artists worked life times to replicate. Instead of creating competition, the camera worked to free up the artist's requirement to capture reality. This led to a wave of impressionist and abstract art, totally changing the world's painting and drawing scene.
Chemistry Of Photography
The main gist of this kind of photography revolves around silver halide molecules. These molecules are made from silver atoms ionically bonding with a type of halide. Halides include bromide, iodid, fluoride, chloride, and astatide. All of these are anions that willingly bond with the silver molecule. This molecule, AgX, is suspended in a gelatin and coated across the photographic paper, making it photoreceptive. This is a light sensitive emulsion. An emulsion is a liquid dispersed within a liquid, similar to oil in water. The light hits the molecules suspended across the paper and reacts. This is a reduction-oxidation reaction. When the light hits, the molecule breaks apart, separating into its halide and silver forms. The silver becomes solid and stays with the paper, but the halide, which in our situation is iodide, becomes gaseous. The iodide dissipates into the surrounding air, leaving only silver behind. That silver holds the image captured to it, but it will remain invisible until developed.
What was explained above is the first step in a five step process of taking a picture. The exposure step happens when the shutter is lifted, exposing light to the photoreceptive paper.
The second step is development. At the moment after exposure, we won’t be able to see the image captured, it is invisible. To make it visible we need to add a reductive. This reductive will begin the reduction reaction process. We are adding the substance, which could be hydroquinone, metol, or phenidone. At the moment we have an emulsion of halide and silver suspended in a gelatin. Our halides are anions, meaning they have an extra electron, and our silver is a cation, meaning it is lacking an electron. When the light hits our emulsion, the halide gives up the free electron, going through oxidation, causing the silver to move towards it in an attempt to fill its valence shell(reduction). This leaves behind pockets of no-silver, the black of the black and white photo, which are called latent image centers.
After the development step, we need to stop the reduction reaction. This takes place during the stopping step. If we were to leave the image to continue its reduction reaction, the entire picture would turn black, ruining the photo. An acid pH solution is used to slow down the reaction. Acetic acid is commonly used for this step. The photo is simply placed in the bath, allowing the acid to flow over its entirety.
The next step is fixing. The fixing process attempts to get rid of excess silver halide molecules that might not have reacted. It is important to not have any unreacted molecules on the paper, or it might continue reacting and turn out poorly. Sodium thiosulphate is the chemical used to do this. The unreacted molecules of AgX are attracted to it and are removed once the paper is washed.
Final Poster Presented
|
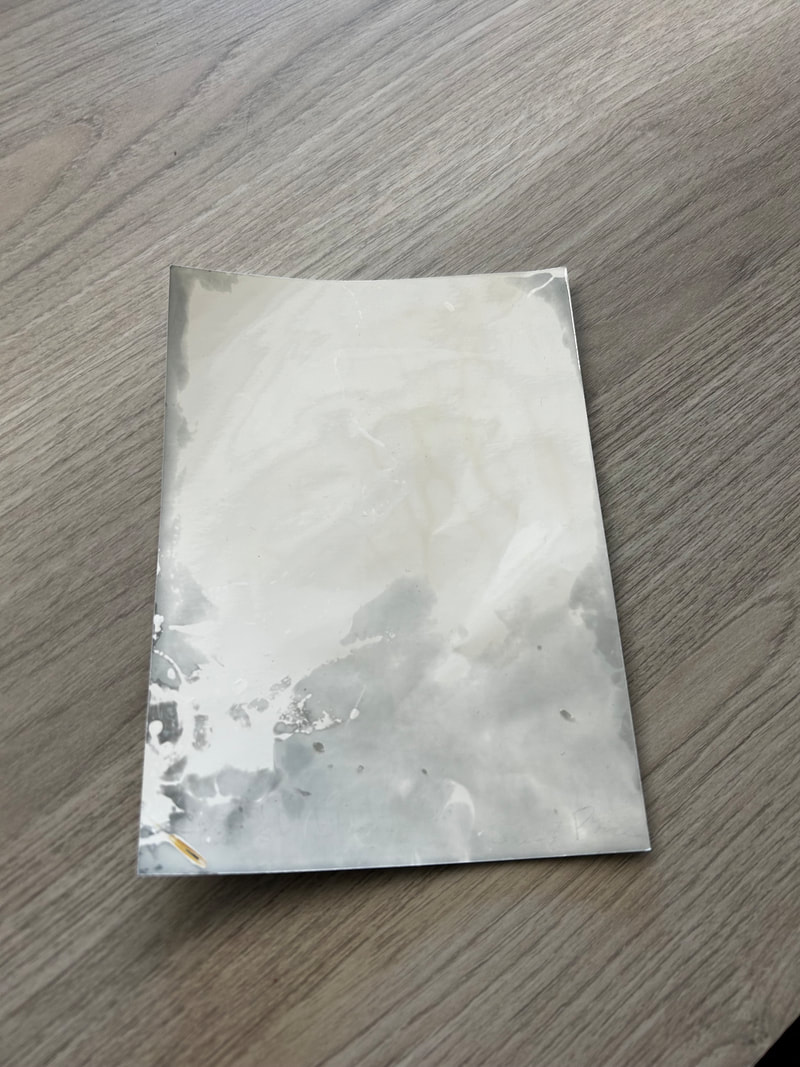
The only one of our photos to develop with any light or image captured, named Elias in Abstract
|
Our Project
A friend of mine and myself worked together to create a dark room and process a photo. This was a difficult process that began months before the project began. I originally wanted to create the kind of cameras they used in the early 1900s that had the covered backs and used powder to burn a flash out. My main focus was on the flash and how I could re-create that. This was unfortunately not possible though because it involved magnesium flares or gunpowder, which are not typically allowed at high schools. Instead of this, we studied how photographic paper works and what the development process looks like for home taken photos. To complete this I bought developing, stopping, and fixing agents and photographic paper, then worked with my friend to build a dark room where we could develop the pictures and lock down the photo.
This didn't work out the way we thought it would though, the dark room didn't have the proper ventilation system so we had to shut the whole thing down after taking two pictures. Neither of these pictures turned out though because we weren't able to expose them for long enough or bright enough. The picture of a person's hand above was taken in direct sunlight and wasn't developed in the end. This lead to the photo disappearing within a few minutes. If I were to go back and re-do the entire project again, I would figure out the health effects and proper methods of photo developing and ventilation. If I had learned more about this and set up the dark room better, we could have taken more pictures before things became too dangerous.
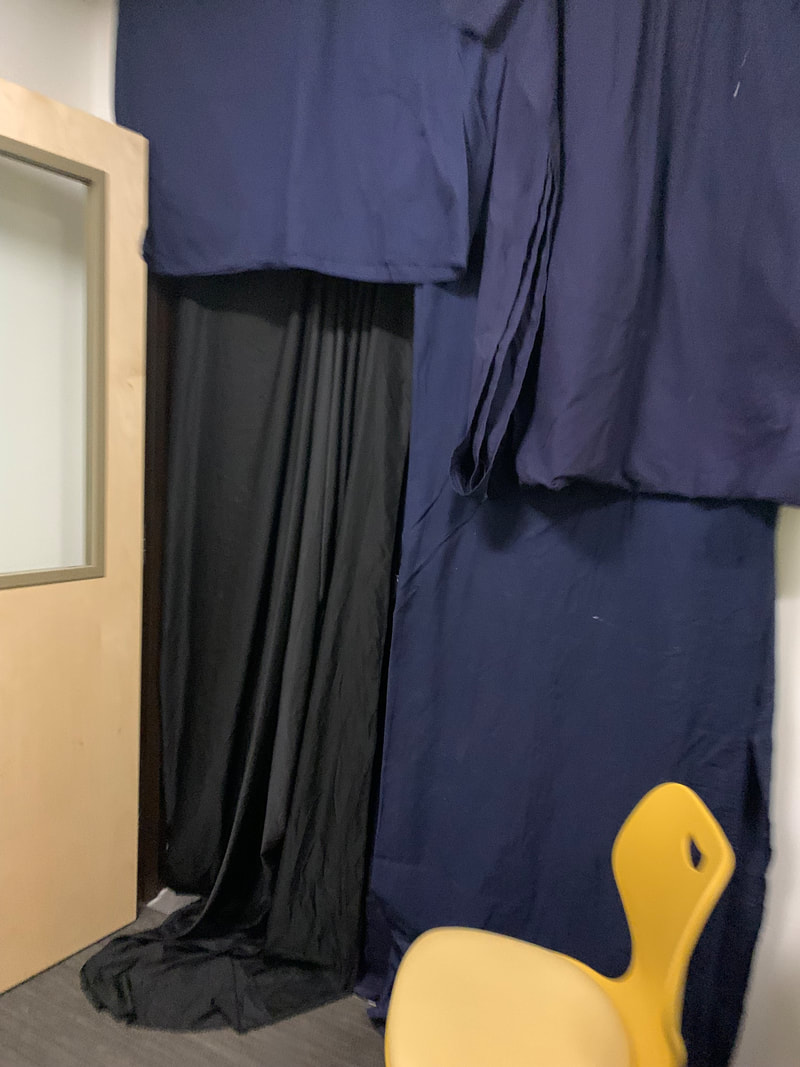
Image of first draft of dark room
Chemistry of Food and Cooking: Gluten Free Chocolate Cake
Reflection on Project
How successful was your experiment in helping you understand your food and/or improve its characteristics? What would be next steps if you were to continue research on this topic?
My experiment worked out well. I believe I was successful because I found correlations between the type of flour I used and the rise and density of the final cake. My hypothesis was that there would be a greater rise in the flour with the most xanthan gum. In the end the all purpose flour cake rose the most and had the least density. I believe it was also successful because I was able to make everything precise. I am usually not a precise baker or person, so this was a struggle for me, but I believe it worked well when I was mixing ingredients and cooking. This was also a relevant question to ask because there is little data on the subject, so I was doing very interesting comparative research on how different flours rise. Gluten free baking will become more prevalent in the coming years, so I hope to be able to join the future of baking.
How does the ingredient(or process) you experimented with affect the food’s overall characteristics?
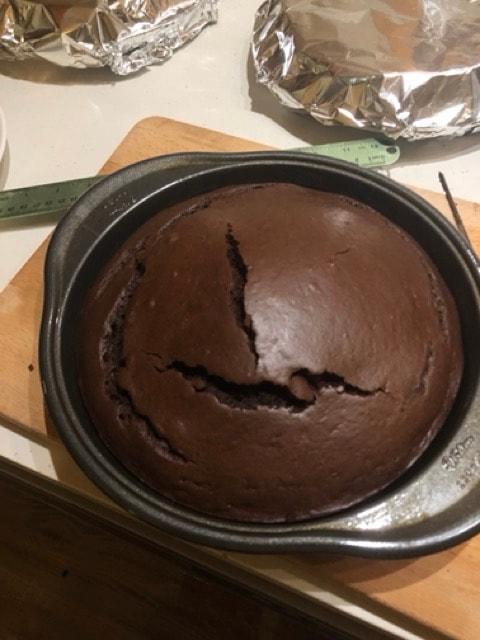
The ingredients of my experiment changed my foods overall characteristics. There was a difference between each type of flour I used and its effect on the final product. For example, the coconut flour absorbed greater amounts of liquid and dried out the cake. This type of flour has higher amounts of fiber, which creates bonds with water molecules to nullify their effect on the cake, taking away moisture. The coconut cake therefore was very dry. The almond flour had a different effect on the cake. Almonds have high amounts of fats which create moisture by coating the flour molecules. The fats from the flour surrounds the flour, but doesn’t evaporate when the rest of the water does. This creates a semblance of moisture, even though there isn’t water remaining. This makes the final cake incredibly moist, which was the case in my cooking experiment. I found that the almond flour cake was nearly raw and glistened on top. The final type of cake was the all purpose gluten free flour, which had high amounts of added xanthan gum. The xanthan gum helps to create structure and connection between the starch molecules holding the cake together. This allows the cake to be more flexible and to rise more. In the experiment, I found that this cake had the highest quantitative rise and the lowest density. It was a beautiful cake that had a perfect rise and cap. It made the cake light and fluffy, which gave it a high rating on my overall taste ranking.
In what way(s) are cooking and doing science similar and in what way(s) are they different? How are a cook and a scientist investigating food similar or different?
I believe that science and cooking are similar in a lot of ways. They both go about creating something through experimentation and learning, while (usually) following some kind of recipe or steps of creation. Science is supposed to be a very methodical process, having each step carefully outlined and followed perfectly. Cooking can be the same way, though I personally don’t follow a very methodical process while cooking. I like to be imprecise and wild in my baking/cooking, which removes myself from the idea of scientific cooking. I can of course follow a recipe and be precise, which is what I did in this project, but it isn’t my normal. A scientist and a cook might investigate food in a different way. A cook tends to look at cooking food in terms of flavor and how to make it more appealing to the audience whereas the scientist does this with more concern for the actual product over the art.
My experiment worked out well. I believe I was successful because I found correlations between the type of flour I used and the rise and density of the final cake. My hypothesis was that there would be a greater rise in the flour with the most xanthan gum. In the end the all purpose flour cake rose the most and had the least density. I believe it was also successful because I was able to make everything precise. I am usually not a precise baker or person, so this was a struggle for me, but I believe it worked well when I was mixing ingredients and cooking. This was also a relevant question to ask because there is little data on the subject, so I was doing very interesting comparative research on how different flours rise. Gluten free baking will become more prevalent in the coming years, so I hope to be able to join the future of baking.
How does the ingredient(or process) you experimented with affect the food’s overall characteristics?
The ingredients of my experiment changed my foods overall characteristics. There was a difference between each type of flour I used and its effect on the final product. For example, the coconut flour absorbed greater amounts of liquid and dried out the cake. This type of flour has higher amounts of fiber, which creates bonds with water molecules to nullify their effect on the cake, taking away moisture. The coconut cake therefore was very dry. The almond flour had a different effect on the cake. Almonds have high amounts of fats which create moisture by coating the flour molecules. The fats from the flour surrounds the flour, but doesn’t evaporate when the rest of the water does. This creates a semblance of moisture, even though there isn’t water remaining. This makes the final cake incredibly moist, which was the case in my cooking experiment. I found that the almond flour cake was nearly raw and glistened on top. The final type of cake was the all purpose gluten free flour, which had high amounts of added xanthan gum. The xanthan gum helps to create structure and connection between the starch molecules holding the cake together. This allows the cake to be more flexible and to rise more. In the experiment, I found that this cake had the highest quantitative rise and the lowest density. It was a beautiful cake that had a perfect rise and cap. It made the cake light and fluffy, which gave it a high rating on my overall taste ranking.
In what way(s) are cooking and doing science similar and in what way(s) are they different? How are a cook and a scientist investigating food similar or different?
I believe that science and cooking are similar in a lot of ways. They both go about creating something through experimentation and learning, while (usually) following some kind of recipe or steps of creation. Science is supposed to be a very methodical process, having each step carefully outlined and followed perfectly. Cooking can be the same way, though I personally don’t follow a very methodical process while cooking. I like to be imprecise and wild in my baking/cooking, which removes myself from the idea of scientific cooking. I can of course follow a recipe and be precise, which is what I did in this project, but it isn’t my normal. A scientist and a cook might investigate food in a different way. A cook tends to look at cooking food in terms of flavor and how to make it more appealing to the audience whereas the scientist does this with more concern for the actual product over the art.
